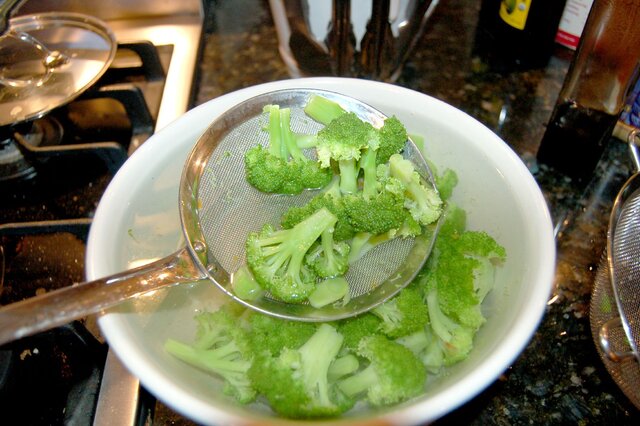
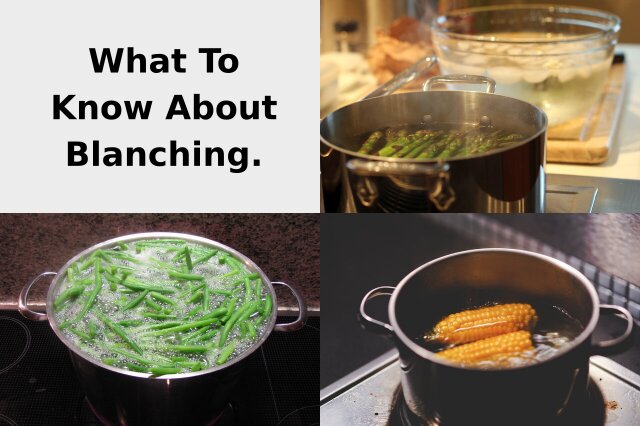
Blanching is a cooking technique that involves briefly immersing food, typically vegetables, in boiling water or steaming them, followed by immediately plunging them into ice water.
This process may seem peculiar, but it offers several significant benefits.
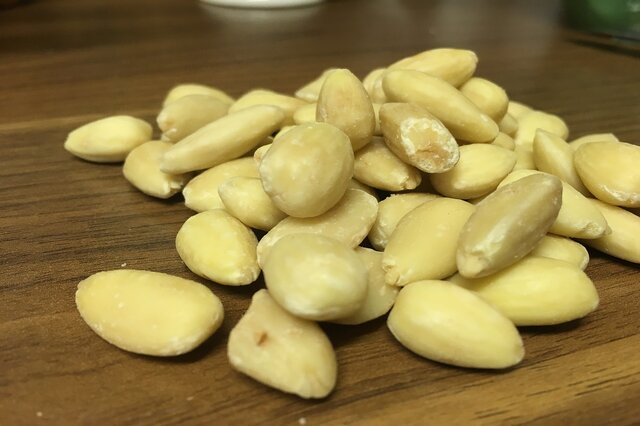
The primary purpose of blanching is to help preserve the vibrant colour and crisp texture of vegetables. It deactivates the enzymes responsible for causing vegetables to become limp and discoloured. Additionally, blanching facilitates the removal of skins from certain foods, such as tomatoes and almonds, making the peeling process more efficient.
Furthermore, blanching plays a crucial role in retaining the nutritional value of foods.
By exposing them to high heat for a brief period and then rapidly cooling them, the loss of essential vitamins and minerals is minimised.
This ensures that the nutritional integrity of the food is maintained.
If you aim to elevate your culinary skills and ensure that your dishes not only look visually appealing but also retain their optimal flavour and texture, incorporating the blanching technique is highly recommended.
It is a game-changing method that can significantly enhance the quality of your culinary creations.
When to blanch: The Dos and Don’ts of This Cooking Method
Blanching is a versatile cooking technique that can transform the texture and flavour of a variety of ingredients.
However, it’s important to understand the dos and don’ts of this method to ensure optimal results.
In this informative article, we’ll explore when to blanch and provide guidance on getting the most out of this handy cooking skill.
Blanching involves briefly immersing ingredients, often vegetables, in boiling water before shocking them in an ice bath.
This quick cooking process can enhance colour, texture, and flavour, making it a valuable tool in the kitchen.
From prepping vegetables for sautéing to preserving produce for the freezer, blanching has many practical applications.
The key is knowing when to blanch and for how long.
Overcooking can lead to mushy, waterlogged results, while underblanching may not achieve the desired effect.
I’ll cover the optimal blanching times for common ingredients, as well as provide tips on how to incorporate this technique into your cooking repertoire for maximum benefit.
Whether you’re a seasoned home cook or just starting to explore the world of blanching, this informative section will equip you with the knowledge to harness the power of this versatile cooking method.
How to blanch Like a Pro: Step-by-Step Instructions
Blanching is a crucial technique in the culinary world, used to prepare vegetables, fruits, and even some meats for further cooking or preservation.
Done correctly, blanching can enhance flavour, texture, and colour.
In this informative guide, I’ll walk you through the steps to blanch like a professional chef.
The key steps to blanching include:
- Bring a large pot of water to a rolling boil.
- Prepare an ice bath by filling a large bowl with ice water.
- Add the food you wish to blanch to the boiling water and set a timer.
Blanching times vary depending on the item, but generally range from 30 seconds to 2 minutes.
- Once the timer goes off, immediately transfer the food to the ice bath to stop the cooking process.
- Drain the food and pat dry before proceeding with your recipe.
Mastering the art of blanching will allow you to achieve perfectly cooked, vibrant vegetables and other ingredients every time.
Follow these simple recipes, and you’ll be blanching like a pro in no time.
Simple Blanching Recipes
Unlock the potential of blanching with our easy-to-follow recipes.
Transform ordinary ingredients into delicious masterpieces in just a few simple steps.


Top Blanching Mistakes to Avoid for Perfect Results
Blanching is a crucial step in many cooking and food preparation processes, but it’s easy to make mistakes that can ruin your results.
In this section, I’ll cover the top blanching mistakes to avoid for perfect outcomes every time.
- Over-blanching.
- One of the most common blanching errors is over-blanching, where the food is left in the boiling water for too long.
This can result in mushy, limp textures and a loss of vibrant colour.
On the other hand, under-blanching leaves food undercooked and prone to discolouration. Not shocking the blanched food.
- Failing to shock the blanched food in an ice bath is another frequent misstep.
This crucial step stops the cooking process and preserves the food’s texture, colour, and nutrients.Neglecting the ice bath can lead to continued cooking and undesirable results.
- Losing the boiling point.
- Temperature control is key when blanching.
Allowing the water to drop too low in temperature or not maintaining a rolling boil can prevent the food from cooking evenly.Crowding the pot is also problematic, as it disrupts the water’s heat distribution.
By steering clear of these top blanching mistakes, you’ll be well on your way to perfectly cooked, vibrant, and delicious results every time.
Stay tuned for more informative tips to elevate your food preparation skills.
Blanching Hacks: Tips and Tricks to Make it a Breeze
Blanching can be a tedious task, but with the right techniques, it doesn’t have to be. In this informative blog section, we’ll share some handy tips and tricks to make blanching a breeze.
- First and foremost, ensure you have the right equipment on hand.
A large pot, a colander or slotted spoon, and plenty of ice water are essential.This will help you efficiently transfer the blanched items from the hot water to the ice bath.
- Next, pay close attention to timing.
Different vegetables require varying blanching times, so do your research or consult a guide to get it just right.Overcooked veggies can become mushy, while underblanched ones may not reap the full benefits.
- Another hack is to pre-portion your ingredients.
Blanching in small batches ensures even cooking and makes the process much more manageable.This also helps you avoid overcrowding the pot, which can lead to uneven results.
- Finally, don’t be afraid to get creative with your blanching liquid.
Adding a pinch of salt, a splash of vinegar, or even some herbs and spices can infuse your produce with extra flavour.
With these simple tips and tricks, you’ll be a blanching pro in no time.
Enjoy the convenience and benefits of perfectly blanched vegetables in all your culinary creations.
Blanching FAQ
- How long should I blanch vegetables?
- The length of time you should blanch vegetables depends on the type of vegetable and its size.
Generally, small vegetables like green beans or asparagus should be blanched for 1-2 minutes, while larger vegetables like broccoli or cauliflower may need to be blanched for 3-4 minutes.
- Can I blanch fruits?
- Yes, you can blanch fruits like peaches or tomatoes to make them easier to peel.
However, the blanching time for fruits is usually shorter than for vegetables, usually around 30 seconds to 1 minute.
- Do I need to blanch before freezing?
- Yes, blanching is an important step before freezing vegetables or fruits.
It helps to preserve the colour, texture, and flavour of the food, and also helps to kill any bacteria that may be present.
After blanching, the food should be immediately plunged into ice water to stop the cooking process, and then dried thoroughly before freezing.
- Can I reuse the blanching water?
- No, it is not recommended to reuse the blanching water.
The water may contain dirt, bacteria, or other contaminants that can affect the quality of the food.
It is best to discard the blanching water and use fresh water for each batch of vegetables or fruits.
